Trade Handover Inspection
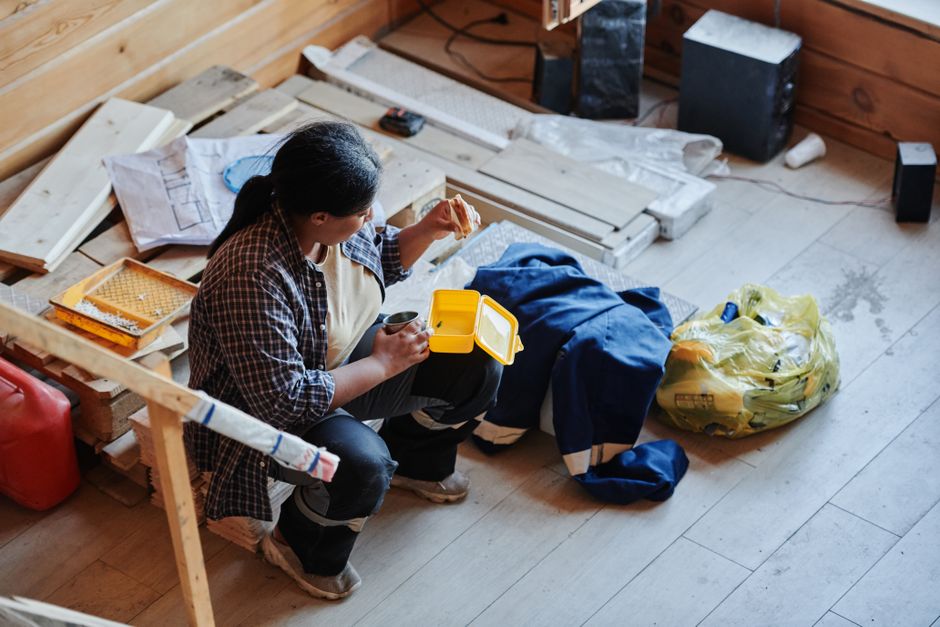
The site is supposed to be clean. Usually, it is a mess of dust and debris. A clear line of responsibility for a remodel project is often lost in the transition between trades, but the details found at renovation journal mybrightleafhome show how to track these handovers to prevent disputes over damage. Proper inspection of a bathroom renovation ensures that a plumber does not inherit a cracked shower pan left by a tiler.
The Waterproofing Milestone
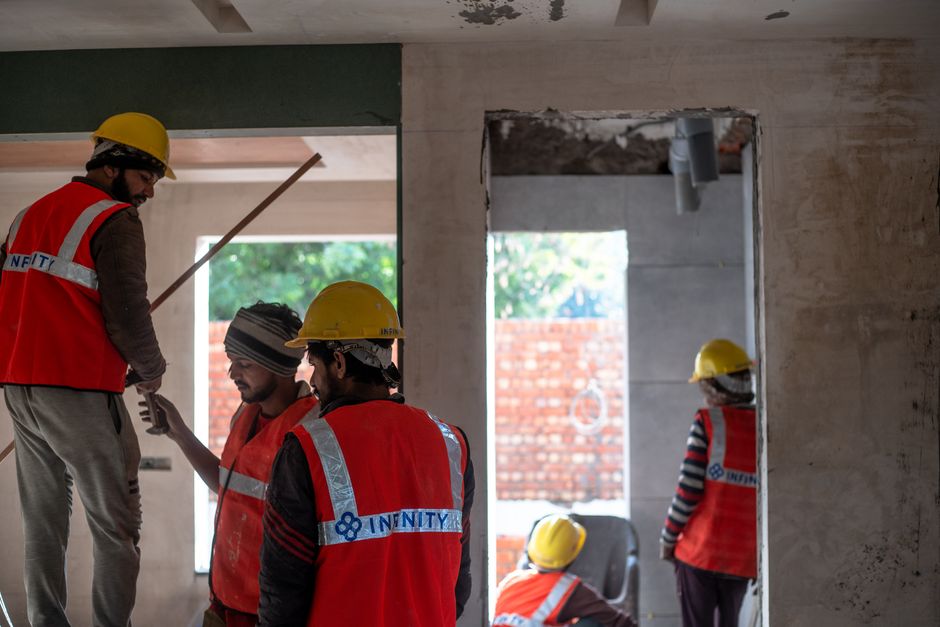
The transition from waterproofing to tiling is the most common point of failure. Before the first layer of thinset hits the wall, the membrane must be tested. A leak in the waterproofing will look like a plumbing error later, but the fault lies in the installation of the cement board or the liquid membrane. A visual check of the seams and the corners is mandatory. If the waterproofing is not verified, the next trade is walking into a liability. A small puncture in the membrane during the installation of a shower valve will cause rot behind the walls, and finding that fault after the tile is set is a massive expense.
Plumbing Rough-In Verification
Once the walls are ready, the plumber installs the rough-in components. The valve must be set at the correct depth to account for the thickness of the tile and the backer board. If the valve sits too deep, the final faucet will not sit flush against the wall. This error forces a rebuild of the substrate. Checking the positioning of the valve before the tile goes up prevents a situation where the trim kit fails to cover the hole. Every connection must be pressure tested to ensure no slow leaks exist behind the new surfaces.
Surface and Fixture Handover
The installation of the countertop and the sink marks the next handoff. A granite or quartz countertop must be level to prevent water from pooling near the edge. If an undermount sink is being used, the clearance between the sink rim and the stone must be inspected for stability. A poorly supported sink will crack the stone or the mounting clips over time. The faucet must be checked for smooth movement and proper seated connections. A leak at the base of the faucet often stems from a bad seal during the initial mounting.
Final Finishes and Seals
The final stage involves the grout and the caulk. Grout lines must be consistent and free of pinholes. In a wet area, the transition between the floor and the wall requires a bead of caulk rather than hard grout to allow for movement. If the caulk is applied over a dirty surface, it will peel within weeks. A tub or a freestanding tub must be checked for levelness before the final plumbing connections are tightened. A slight tilt causes water to sit against the overflow, leading to premature failure of the seals.