Procurement-to-Installation Sequence
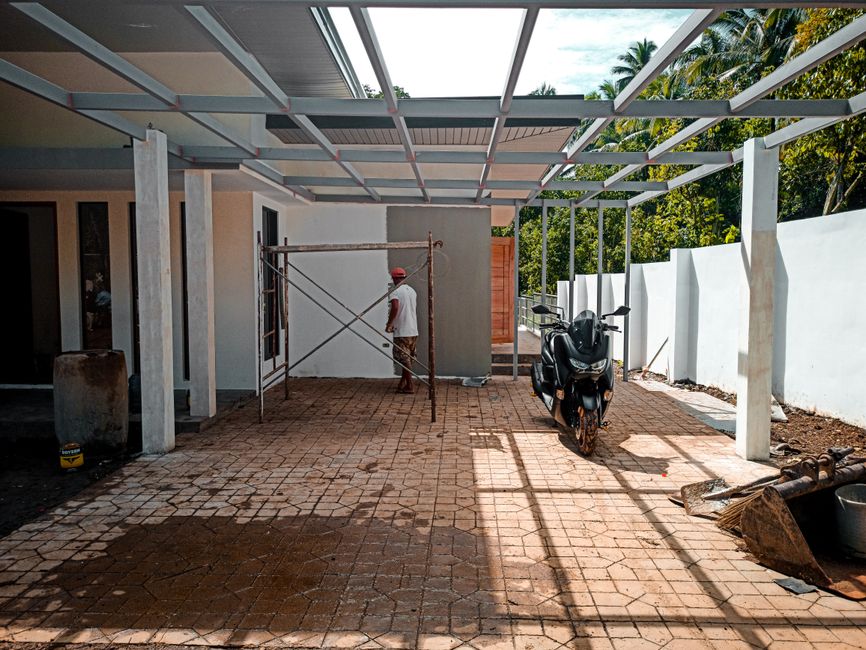
A shipment arrives too early when the slab is not cured. The logs documented at renovation journal mybrightleafhome reflect how a botched remodel sequence ruins a project timeline. Material arrival must match the actual sequence of site installation readiness to prevent damage or site congestion.
Phase One: Rough Plumbing and Substrate
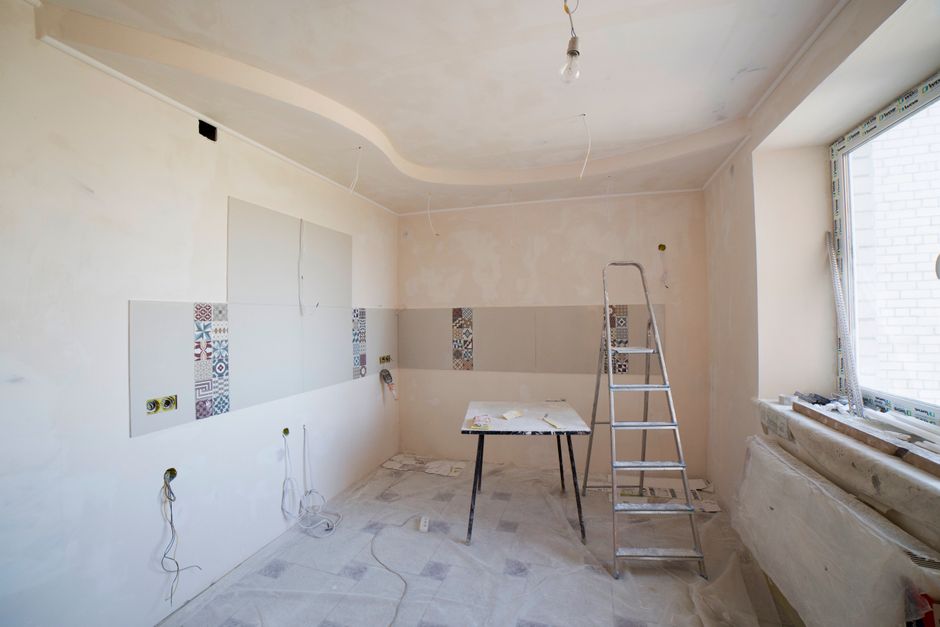
The rough-in stage requires the valve and the tub before any surface work begins. A freestanding tub sits in place before the floor finishes are laid. The shower pan must be level and set. Once the base is secured, the waterproofing membrane goes down. A cement board provides the structural backing for the walls. This stage relies on the plumbing being finished and tested for leaks. A missing valve stops the entire downstream process. The sequence dictates that the plumbing rough-in happens before the first layer of board is attached to the studs.
Phase Two: Tile and Surface Preparation
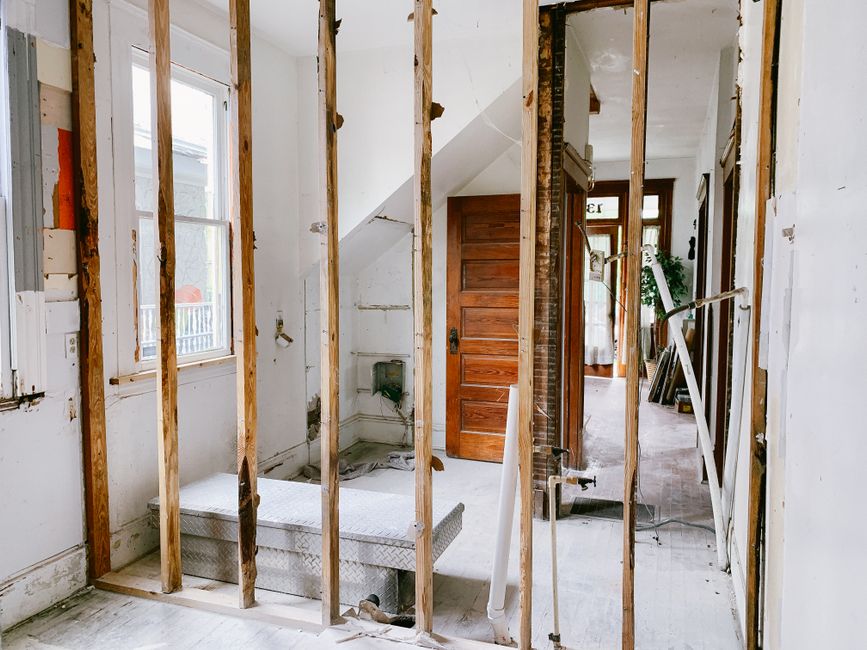
The tile arrives after the waterproofing is cured. A subway tile requires a flat wall. If the backer board is not plumb, the layout fails. Thinset is mixed only when the room is ready for immediate application. A mosaic requires a different setting technique than large format porcelain tile. Grout is the final step in this phase. The room must stay dry and dust free during this time. A wet room needs a specific slope toward the linear drain to ensure water moves correctly. If the drain is not set, the tile work cannot proceed.
Phase Three: Countertop and Sink Integration
Templates for the countertop occur after the vanity is installed. A vanity is a heavy unit that needs a stable floor. The countertop sits on the vanity. An undermount sink requires the cutout to be measured from the actual stone. A vessel sink sits on top of the surface. The faucet sits in the hole drilled by the stone fabricator. If the vanity is not level, the stone will crack under tension. The sink must be ready for the mounting clips before the stone arrives on site.
Phase Four: Final Trim and Sealing
The final trim involves the faucet and the trim kit for the shower. A cartridge goes into the valve to control flow. Caulk seals the gaps between the sink and the wall. Every seam requires a clean bead. The sequence ends when the fixtures are functional. A missing part at this stage stalls the final inspection. The order of operations prevents a finished surface from being cut or drilled later. The work follows the mechanical reality of the build.