Sequence of Trades
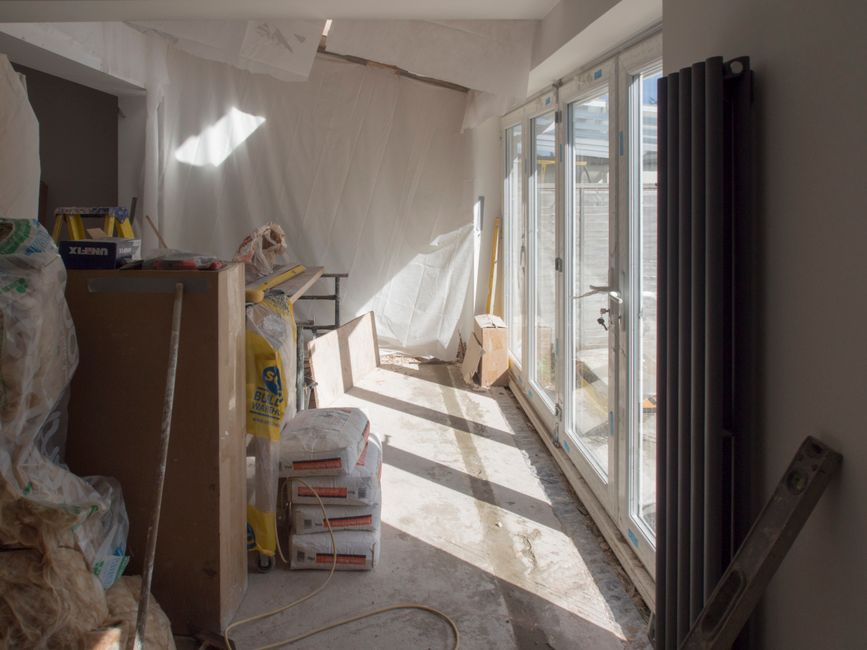
Lay out every piece of hardware on the subfloor before the first plumber arrives to ensure the rough in matches the intended layout, much like the specific sequence detailed at renovation journal mybrightleafhome for a bathroom remodel. Proper management of the trade schedule prevents a plumber from tearing out fresh waterproofing or a tiler from working around a half installed tub. The order of operations dictates that heavy structural work finishes before fine finishes begin.
Rough Plumbing and Subfloor Preparation
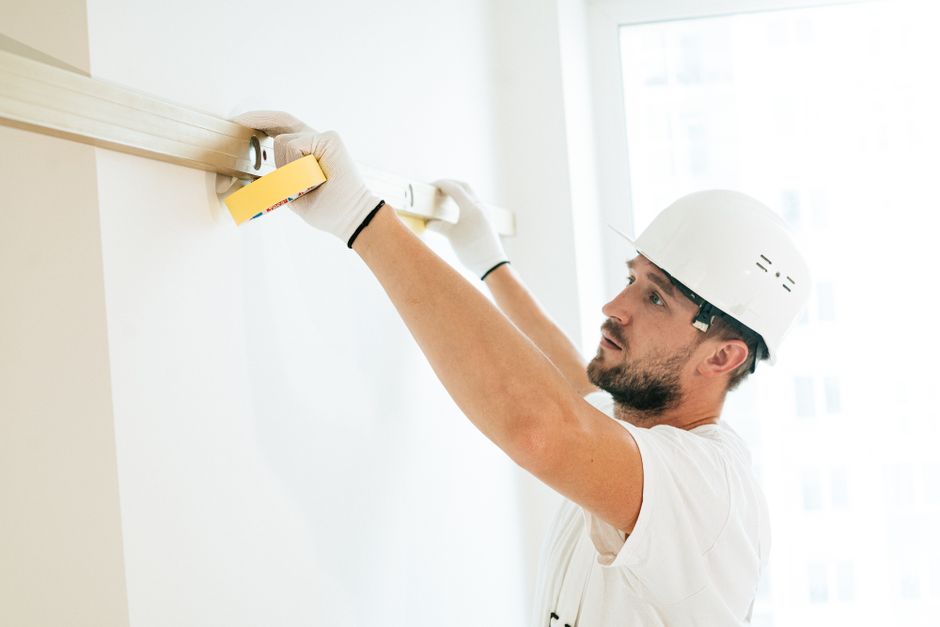
Start with the heavy mechanical work. The plumber installs the shower pan or a solid shower base first. If the design calls for a curbless entry, the slope of the floor must be set into the substrate before any waterproofing occurs. This stage requires the installation of the mixing valve deep within the wall studs. A mistake here means breaking through finished surfaces later. Once the valve and drain lines are set, the framing must be inspected for plumb and level lines.
Waterproofing and Substrate Installation

Once the rough plumbing is verified, the wet area preparation begins. Lay down a waterproof membrane over the cement board or backer board. This layer prevents moisture from reaching the wooden studs. A linear drain requires precise leveling during this stage to ensure water moves toward the opening. If a thinset is applied too thick or unevenly, the subsequent tile layer will struggle with lippage. The substrate must be a rigid, continuous surface before the first piece of porcelain tile touches the floor.
Tile and Grout Application
Tile work follows the drying period of the waterproofing system. Lay the subway tile on the walls and the large format porcelain tile on the floor. The installer applies thinset with a notched trowel to ensure full coverage. After the tile sets, the grout is pushed into the joints. This step is the final structural barrier against water. A mistake in the grout color or consistency is difficult to fix once the tile is bonded. This stage marks the transition from heavy construction to finish work.
Fixture Installation and Trim
The trim phase begins only after the grout and caulk are fully cured. The plumber returns to install the faucet and the sink components. If an undermount sink is being used, the installer must secure it to the countertop before the plumbing connections are made. For a vessel sink, the hole in the countertop must be centered perfectly. The cartridge is inserted into the valve to allow for water control. This prevents debris from the tile phase from clogging the internal mechanisms of the new hardware.
Final Finishing and Sealing
The final step involves the placement of the vanity and the connection of the tub or shower hardware. A freestanding tub requires a stable floor that has already been completed. All transitions between the wall and the floor receive a bead of caulk to allow for minor movement. This completes the mechanical sequence without any crew blocking the path of another.